If your dog suddenly starts shaking their head like they’ve got a maraca inside it, or if they’re tilting their head sideways and pawing at their ears, it might be more than just a quirky habit—it could be a sign their ears need attention. Just like humans, dogs rely heavily on their hearing, and their ears are both delicate and prone to problems like wax buildup, infections, and irritation. Yet many pet parents either overlook ear care entirely or try to clean them the wrong way—sometimes making things worse.
The good news? Cleaning your dog’s ears doesn’t have to be scary, complicated, or stressful—for you or your pup. With the right knowledge, gentle technique, and a little patience, you can keep your dog’s ears healthy, comfortable, and infection-free.
In this guide, you’ll learn why ear cleaning matters, how to tell when your dog actually needs it (spoiler: not all dogs need it weekly!), what supplies to use (and which to avoid), and a step-by-step method to clean safely at home. We’ll also cover red flags that mean it’s time to call the vet—not the cotton swab drawer.
Whether you have a floppy-eared Basset Hound, a curly-coated Poodle, or a perky-eared Terrier, this guide will help you care for their ears with confidence and compassion.
Why Ear Cleaning Matters—More Than You Might Think
Your dog’s ears aren’t just for hearing—they’re complex structures that can easily trap moisture, dirt, yeast, and bacteria, especially in breeds with long, floppy ears or excessive hair growth in the ear canal. Left unattended, this environment becomes a breeding ground for infections, which can cause discomfort, pain, and even hearing loss if untreated.
According to veterinary studies, ear infections (otitis externa) are among the top five most common health issues in dogs, particularly in breeds like Cocker Spaniels, Golden Retrievers, and Bichon Frises. But even short-eared dogs can develop problems, especially after swimming, bathing, or exposure to allergens.
Regular (but not excessive) ear cleaning helps:
- Remove excess wax and debris
- Reduce the risk of bacterial or yeast overgrowth
- Allow early detection of problems like redness, odor, or mites
- Prevent chronic infections that can damage the ear canal over time
That said, over-cleaning is just as harmful as neglect. A dog’s ear produces natural oils and wax that protect against infection. Stripping those away too often can disrupt the ear’s pH balance and lead to irritation. So the goal isn’t to sterilize—it’s to maintain.
Signs Your Dog’s Ears Need Cleaning (or a Vet Visit)
Not every dog needs routine ear cleaning. Some dogs go months without any buildup, while others—especially those with allergies, frequent baths, or water exposure—may need more frequent care.
Normal, healthy ears should be:
- Light pink or pale in color (depending on skin pigment)
- Slightly moist but not wet
- Odorless or with a very mild, neutral scent
- Free of visible wax, redness, or swelling
It’s time to clean—or call the vet—if you notice:
- A strong, yeasty, or foul odor
- Dark brown, black, or yellow discharge
- Excessive scratching, head shaking, or ear rubbing
- Redness, swelling, or warmth around the ear flap
- Hair loss or scabs near the ear
- Your dog whining or flinching when you touch their ear
Important: Never clean your dog’s ears if they show signs of pain, bleeding, or suspected infection. Cleaning can push debris deeper or irritate inflamed tissue. In these cases, always consult your veterinarian first.
A quick weekly ear check during grooming or petting sessions can help you catch small issues before they become big problems.
What You’ll Need: Safe Supplies and What to Avoid
Not all ear cleaners are created equal—and some household items can seriously harm your dog’s ears. Here’s what to use (and skip):
✅ Use:
- Veterinary-approved dog ear cleaner (look for alcohol-free, pH-balanced formulas with soothing ingredients like aloe, witch hazel, or chlorhexidine). Popular trusted brands include Virbac Epi-Otic, Zymox, and Dechra TrizULTRA.
- Cotton balls or gauze pads (soft, absorbent, and non-linting)
- Treats (to reward calm behavior—this is key!)
❌ Avoid:
- Cotton swabs (Q-tips) – They can push wax deeper into the ear canal or even rupture the eardrum.
- Hydrogen peroxide or vinegar – These can irritate sensitive skin and disrupt the ear’s natural flora.
- Water – It doesn’t evaporate well and can trap moisture, increasing infection risk.
- Alcohol-based cleaners – Too drying and painful, especially on inflamed skin.
Pro tip: Store your ear cleaner at room temperature. Cold liquid can startle your dog and make future cleanings harder.
Also, never use the same cotton ball on both ears if one appears infected—this can spread bacteria or yeast from one ear to the other.
Step-by-Step Guide to Cleaning Your Dog’s Ears Safely
Follow these gentle, stress-free steps—ideally after a walk or play session when your dog is calm:
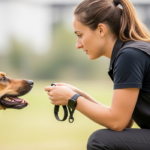
Step 1: Set the mood
Choose a quiet space with good lighting. Have your supplies ready and your treats nearby. Let your dog sniff the bottle so it’s not a surprise.
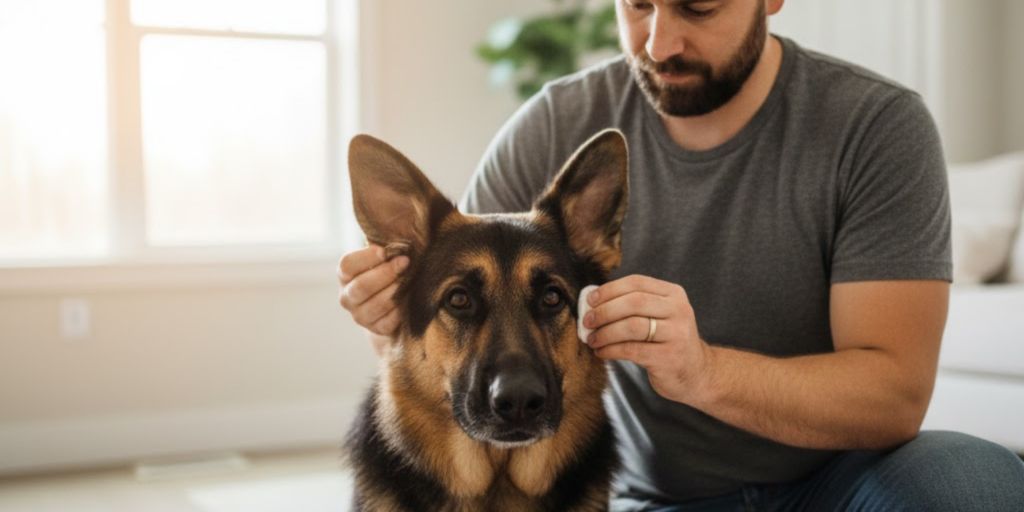
Step 2: Lift the ear flap
Gently hold the ear flap (pinna) upright to expose the ear canal. This opens the path for the cleaner to flow in.
Step 3: Apply the cleaner
Squeeze enough solution into the ear canal to fill it—usually 5 to 10 drops, or as directed on the label. You’ll hear a little “glug” sound; that’s normal.
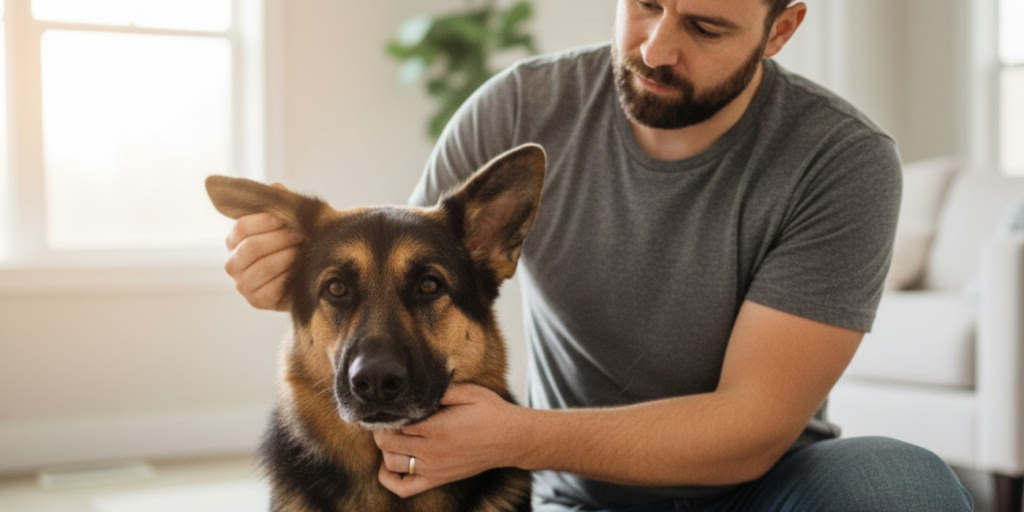
Step 4: Massage the base
With your thumb and forefinger, gently massage the base of the ear (the “bulb” at the bottom) for 20–30 seconds. You’ll hear a squishing sound—that’s the cleaner loosening wax and debris.
Step 5: Let your dog shake
Step back and let your dog shake their head. This brings debris to the surface. Some spray is normal—keep a towel handy!
Step 6: Wipe away residue
Use a cotton ball or gauze to wipe the outer ear canal and inner flap. Never insert anything into the ear canal—clean only what you can see.
Step 7: Reward generously
Praise your dog and offer a treat. Make it a positive experience so they’ll cooperate next time.
Repeat on the other ear with fresh supplies. Clean only as often as needed—typically every 1–4 weeks, depending on your dog’s breed and lifestyle.
Breed-Specific Tips and Special Considerations
Some dogs need extra ear care due to their anatomy or habits:
- Floppy-eared breeds (Basset Hounds, Labs, Cocker Spaniels): Their ear flaps limit airflow, creating a warm, moist environment perfect for yeast. Wipe the outer folds weekly and keep ears dry after swimming or baths.
- Hair-filled ear canals (Poodles, Shih Tzus, Schnauzers): Excess hair traps moisture. Ask your groomer or vet about “ear plucking”—though this should only be done if recommended, as it can cause micro-tears in sensitive dogs.
- Frequent swimmers or bath lovers: Always dry ears thoroughly after water exposure. Consider using a vet-approved drying solution post-swim.
- Dogs with allergies: Chronic ear issues are often linked to food or environmental allergies. If your dog gets repeated infections, talk to your vet about allergy testing.
Also, older dogs or those with hearing loss may startle easily during ear handling. Go extra slow, use softer voices, and pair each step with treats to build trust.
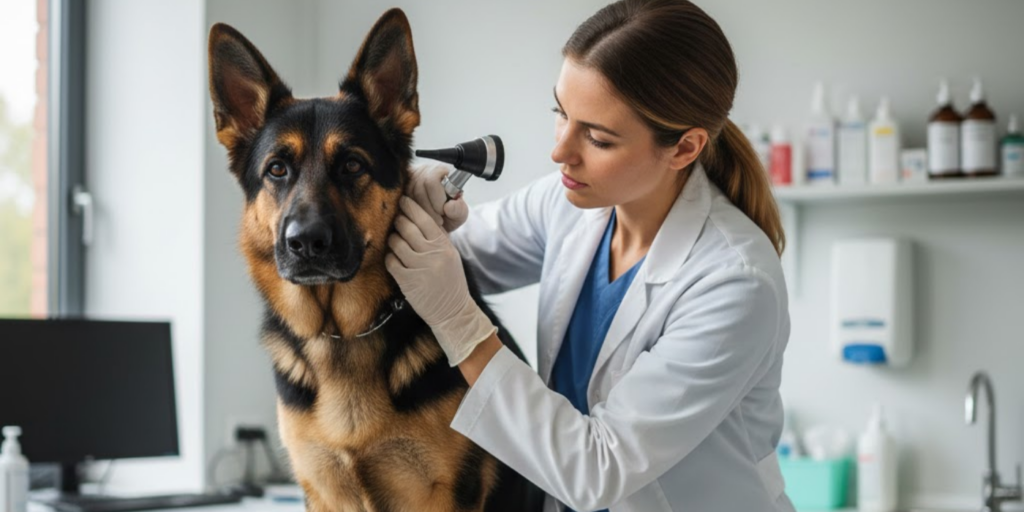
When to Skip Home Cleaning and Call the Vet
Even with the best intentions, some situations require professional care. Do not attempt to clean your dog’s ears if you notice:
- Blood or pus discharge
- A foul, rotten smell
- Severe redness, swelling, or scabbing
- Your dog crying, growling, or avoiding touch near the ear
- Signs of balance issues (circling, falling over, eye twitching)
These may indicate a deep infection, ear mites, a ruptured eardrum, or even a polyp or tumor. A vet can safely examine the ear with an otoscope, take swabs for analysis, and prescribe targeted treatment—like medicated drops, oral antibiotics, or anti-yeast medication.
Trying to “fix it at home” in these cases can delay healing and cause unnecessary pain. Remember: ear cleaning is preventive, not curative.
Conclusion: Prevention, Patience, and Partnership
Cleaning your dog’s ears safely isn’t just about hygiene—it’s an act of care that strengthens your bond and supports their long-term health. By learning what’s normal, using the right products, and following a gentle, consistent routine, you can prevent many common ear problems before they start.
Remember: less is often more. Over-cleaning can do more harm than good, so clean only when necessary and always with your dog’s comfort in mind. Make it a calm, positive ritual—not a battle—and your dog will learn to accept (maybe even enjoy!) the process.
Most importantly, trust your instincts. You know your dog best. If something seems off—even if you’re not sure—don’t hesitate to call your veterinarian. Early intervention saves discomfort, time, and money.
Now it’s your turn: How does your dog react to ear cleaning? Do you have a favorite ear cleaner or a clever trick to keep them calm? Share your tips and stories in the comments below—your experience could help another pet parent feel more confident and connected with their pup!

Mary Brown is a devoted pet enthusiast with a lifelong passion for animals of all kinds. From volunteering at local shelters to creating cozy, enriching spaces for her own furry family, she believes that every pet deserves love, comfort, and attentive care. With years of hands-on experience and a heart full of empathy, Mary shares practical tips and heartfelt insights to help fellow pet parents nurture happier, healthier lives for their companions.